I am constantly on a move. I don't like to carry laptop or other device. Or even if I do, I would like to switch between devices very easy. I like to have my development stack on a portable USB device. The best is to have it in the cloud. I have separate tutorials about that. But the cloud IDE have very limited console abilities for now. So I have to do some tasks on a local computers with native apps. I am using portable XAMPP (manually installed) and my goal is to work with ZF2 and Doctrine 2 ORM on a portable USB device.
========== Install composer and ZF2 on a portable device ==========
1) Prepare the PATH environment variable
2) Make sure SSL is enabled in PHP
3) Install the composer in XAMPP/PHP on the USB drive
php -r "eval('?>'.file_get_contents('https://getcomposer.org/installer'));"
4) Make composer global, by creating a bat file
echo @php "%~dp0composer.phar" %*>composer.bat
5) Check if the composer works
composer -V
6) How to get help?
composer help
7) Note: composer doesn't work on devices different from c:
8) Workaround. Create the project on c:
composer create-project --repository-url="http://packages.zendframework.com" zendframework/skeleton-application c:\projects_composer
9) Copy the project to the portable drive if you don't want to install more things with composer
10) Create a virtual host (I prefere to use ports insted of subdomains)
# for my composer tutorial
# don't forget to change /etc/hosts or c:\windows\system32\drivers\etc\hosts
# <VirtualHost *:80>
<VirtualHost *:8081>
ServerName zf2-tutorial.localhost
DocumentRoot /projects_composer/zf2-tutorial/public
SetEnv APPLICATION_ENV "development"
<Directory /projects_composer/zf2-tutorial/public>
DirectoryIndex index.php
AllowOverride All
Order allow,deny
Allow from all
# Extra line not mentioned in the tutorial
Require all granted
</Directory>
</VirtualHost>
11) We have to change the file hosts on the current computer (I don't like this approach)
127.0.0.1 zf2-tutorial.localhost localhost
12) For some Apache versions we have to add 1 line more to make it work
13) Note: If we try to change the path to h:\xampp\php to be able to use php on c: drive, we get error!
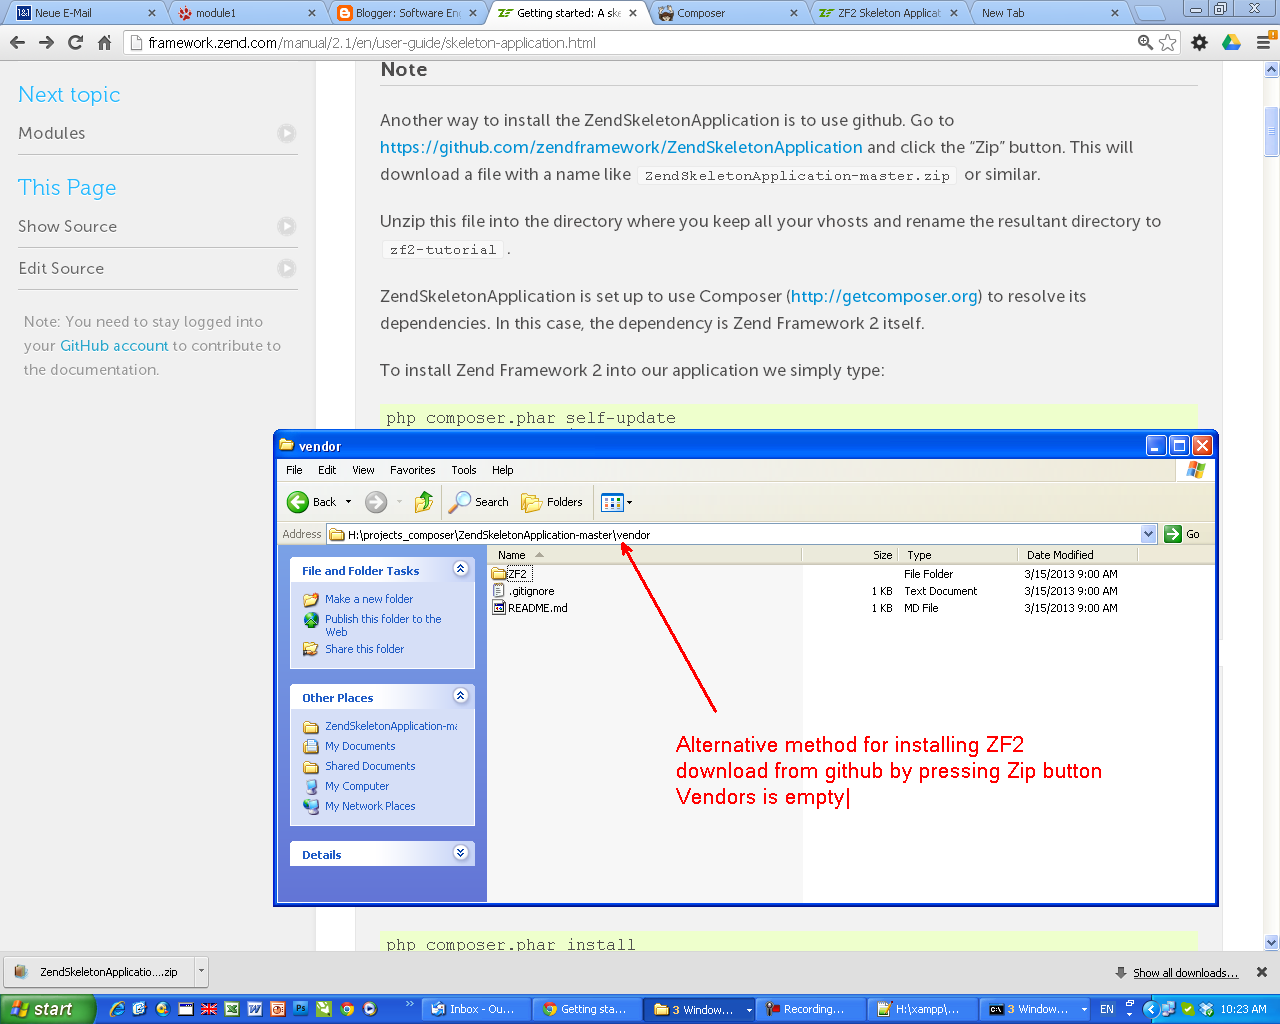
14) (Optional) Alternative method to install ZF2
15) Note: Alternative method to install ZF2. We have the same error
=== The steps below just repeat what was described but in greater details ====
16) We run composer from the USB drive but on Windows we are forced to use a directory on drive c:
THE STEPS BELOW ARE
17) Install ZF2 using "composer" but in a folder of drive c:
composer create-project --repository-url="http://packages.zendframework.com" zendframework/skeleton-application c:\projects_composer
18) As a result of the execution a folder has been created on drive c:
19) If you have finished move the app to the portable device
20) Prepare the virtual host
21) prepare the hosts file
22) The location of the tutorial
23) Check the application
================= The alternative installation =================
24) The alternative installation
25) Alternative. Download the zip file of the skeleton app from github
26) Alternative. Unzip in a folder of drive c: "ZendSkeletonApplication-master"
27) Alternative. Composer composer self-update -d C:\projects_composer\ZendSkeletonApplication-master
28) Alternative. Composer install -d C:\projects_composer\ZendSkeletonApplication-master
29) Alternative. The "composer install .." from the step above was created a lot of files and folders
30) Alternative. If you have finished using the composer move the created folder to your portable device
=Modules installation. DoctrineModule and DoctrineORMModule installation.=
31) Find a module you want to install. (DoctrineModule )
32) Find it in github
33) read the install instructions. Usually composer is used
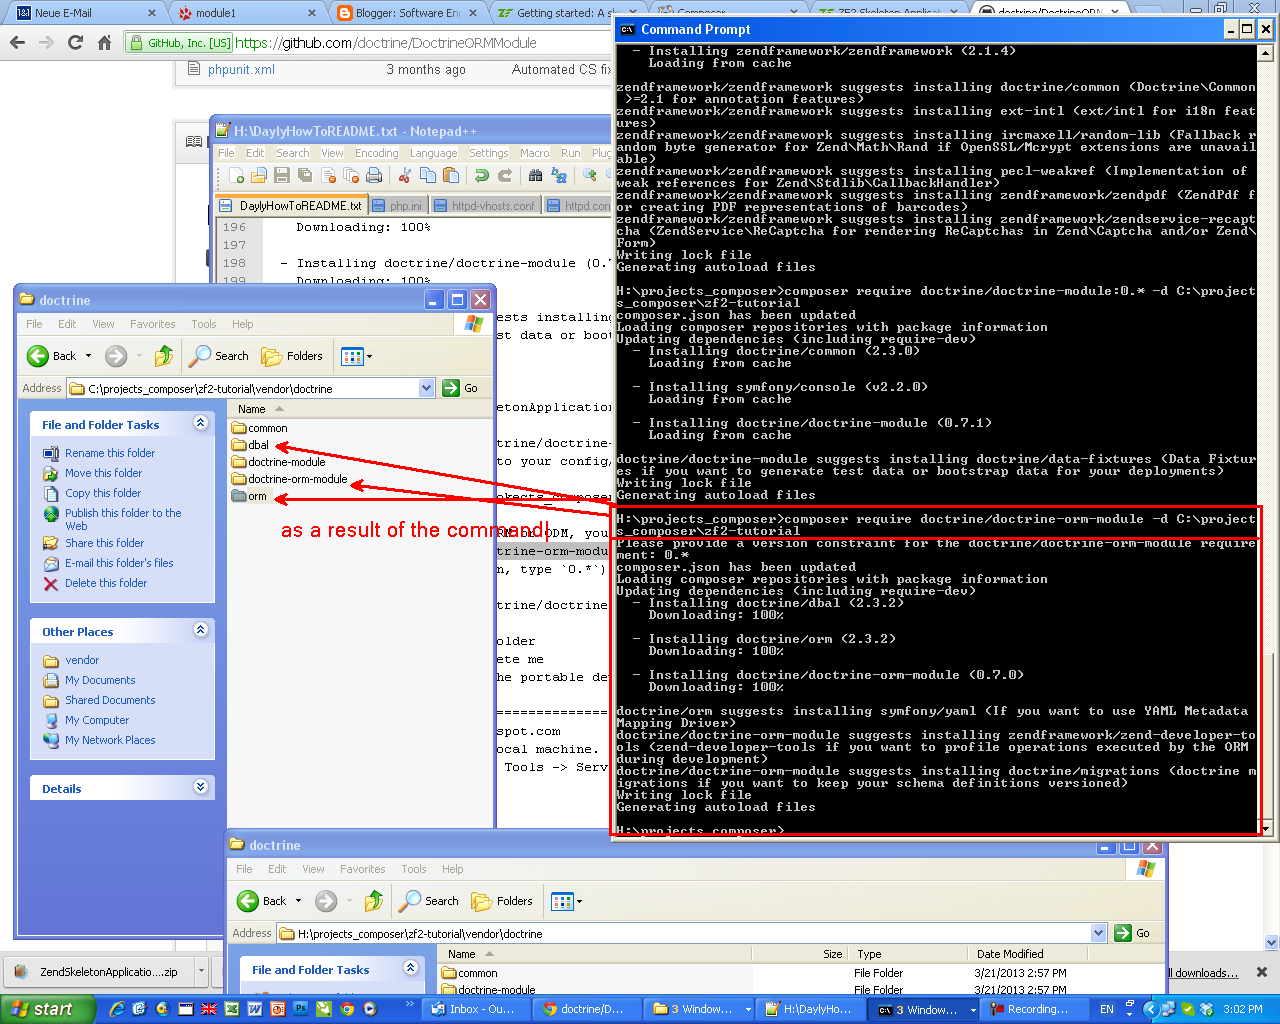
34) composer require doctrine/doctrine-module:0.* -d C:\projects_composer\zf2-tutorial
35) Add the module to application.config.php
36) If you have finished with the installation copy the folder with the app to the portable device
37) Install Doctrine ORM or ODM. composer require doctrine/doctrine-orm-module -d C:\projects_composer\zf2-tutorial
38) Add the module to the application.config.php
39) Create a folder (as described in the install instructions)
data/DoctrineORMModule/Proxy